Why adopt gravel gardening?
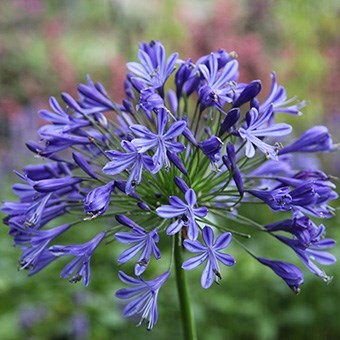
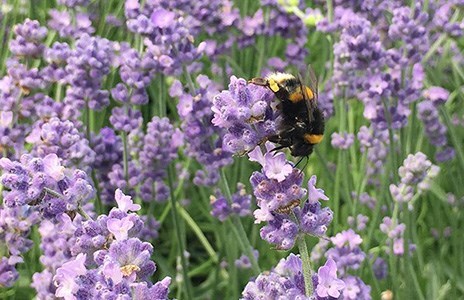
Sun-loving Mediterranean and Californian plants are perfectly at home; evergreen herbs such as lavenders, santolina and rosemary thrive, and so do rock plants - which always look well in stony surroundings. This habitat is also great for all sorts of showy bulbs and perennials that need well-drained soil; sea hollies, ornamental alliums, bearded iris, Sedum spectabile, pinks and purple sage. What’s more they all ‘go’ very well together.
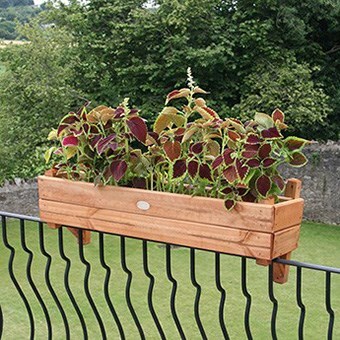
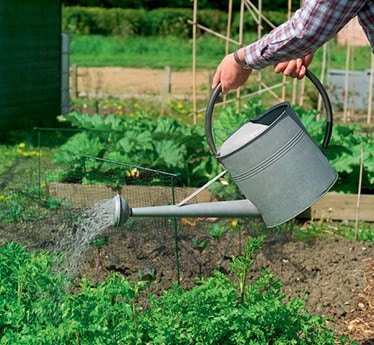
Even if you’ve only got a tiny space, a gravel ‘base’ makes a great standing-out place for containers. And since the plants can root through into the substrate below, they don’t blow over so easily, and they’ll find a lot of their own water. A gravel garden is very practical for busy people; routine chores are cut to a minimum. There’s little weeding since a deep layer of gravel deters most everyday annual weeds, and plants are largely self-watering as dew settles on stones and trickles into the soil underneath. Indeed, some gravel gardeners make a big thing of never watering. And even if conditions take a turn for the wetter, a gravel garden still comes up trumps since excess water can drain away freely, so you are spared puddles, waterlogging, and problems caused by rotting roots.
"Even if you’ve only got a tiny space, a gravel ‘base’ makes a great standing-out place for containers"
How to create a gravel garden
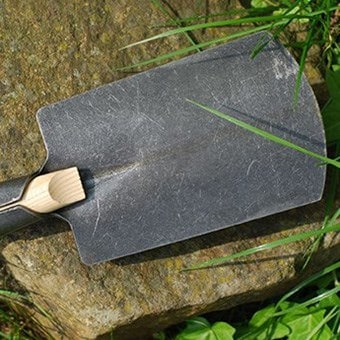
Making a gravel garden is easy. It helps to start with a site that has reasonably good natural drainage; don’t try to adapt a boggy corner. Clear the area of any weeds and/or existing plants, spread about 10cm (4in) of gravel over the surface and dig it in. (The gravel doesn’t need to be anything special – use whatever’s cheapest in bulk from a builders' merchant). Fork it over well, so the small stones are evenly mixed with the top foot or so of soil. (If there’s a problem with persistent perennial weeds, spread a strong woven permeable plastic membrane over the ground; you can cut holes to plant through where needed later). Now spread another 5-10cm (2-4in) of gravel over the top. Again this can be the common-or-garden gravel used for drives, but if you want a fancier effect go for pea shingle, which consists of pea-sized pieces with rounded edges. It’ll cost a bit more, but it looks much better.
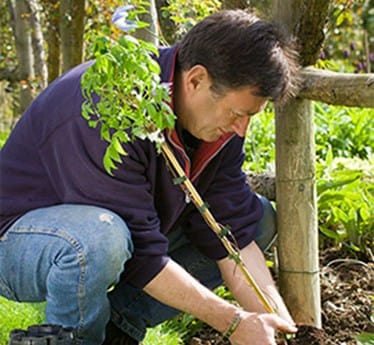
When you’ve chosen your plants, stand them in position – still in their pots – while you fine-tune the arrangement. That’s also a good time to work out where to place any rocky decorations you might want to bolster the theme – perhaps a craggy boulder, or drifts of broken bits of blue or green slate (good with rock plants) or a rough-hewn sculpture – and when you’re happy with the effect, plant everything as usual.
The thick surface layer of gravel lasts for years, and only needs a light topping-up if it starts to wear a bit thin. It shows off plants well, and keeps them in good condition. And it’s the perfect antidote to dry seasons – even when they’re punctuated by damp winters. You’re on to a winner, all ways, and the saving on work is enormous.