Bulb lasagne collection for pots - red & plum
bulb lasagne collection for pots
- 1 × collection | 49 bulbs
- £39.14 £0.80 each
- Delivered during September
- 2 × collections | 98 bulbs
- £70.00 £0.71 each
- Delivered during September
Delivery options
- Bulbs (only) £4.99
- Position:Full sun or partial shade, though best in full sun
- Soil: Moderately fertile, moist, well-drained soil
- Rate of growth: Fast
- Flowering period: February to May
- Hardiness: Fully hardy
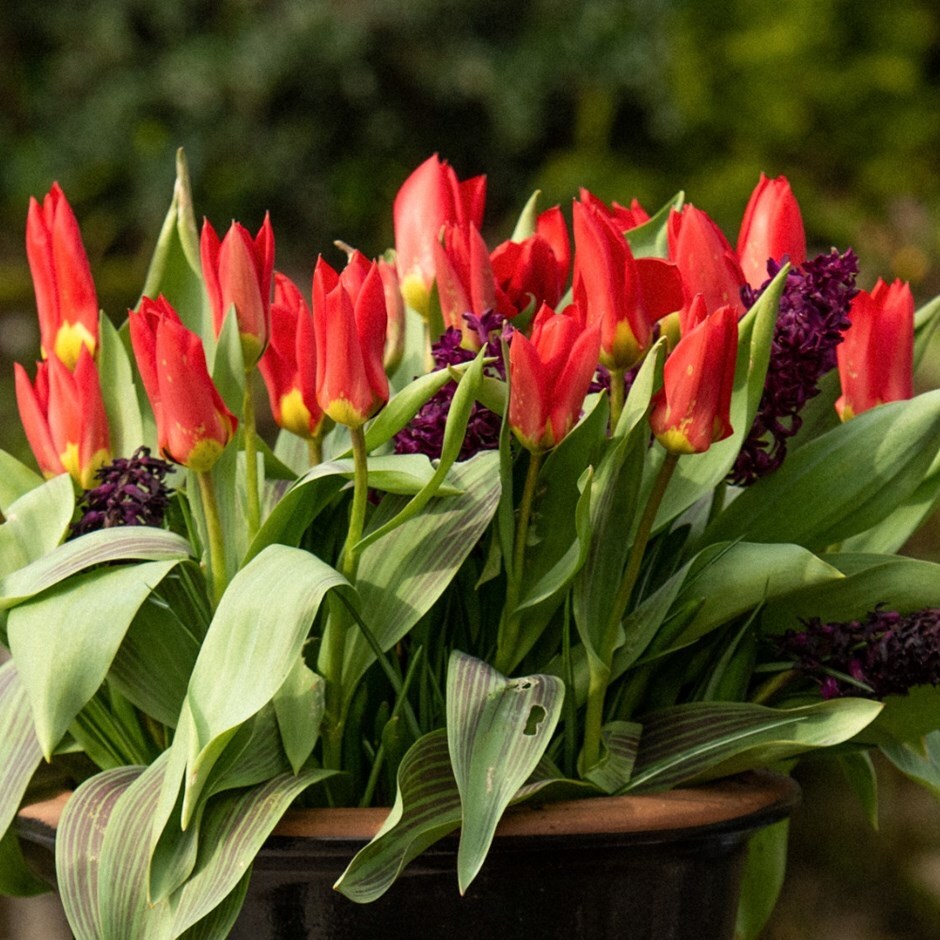
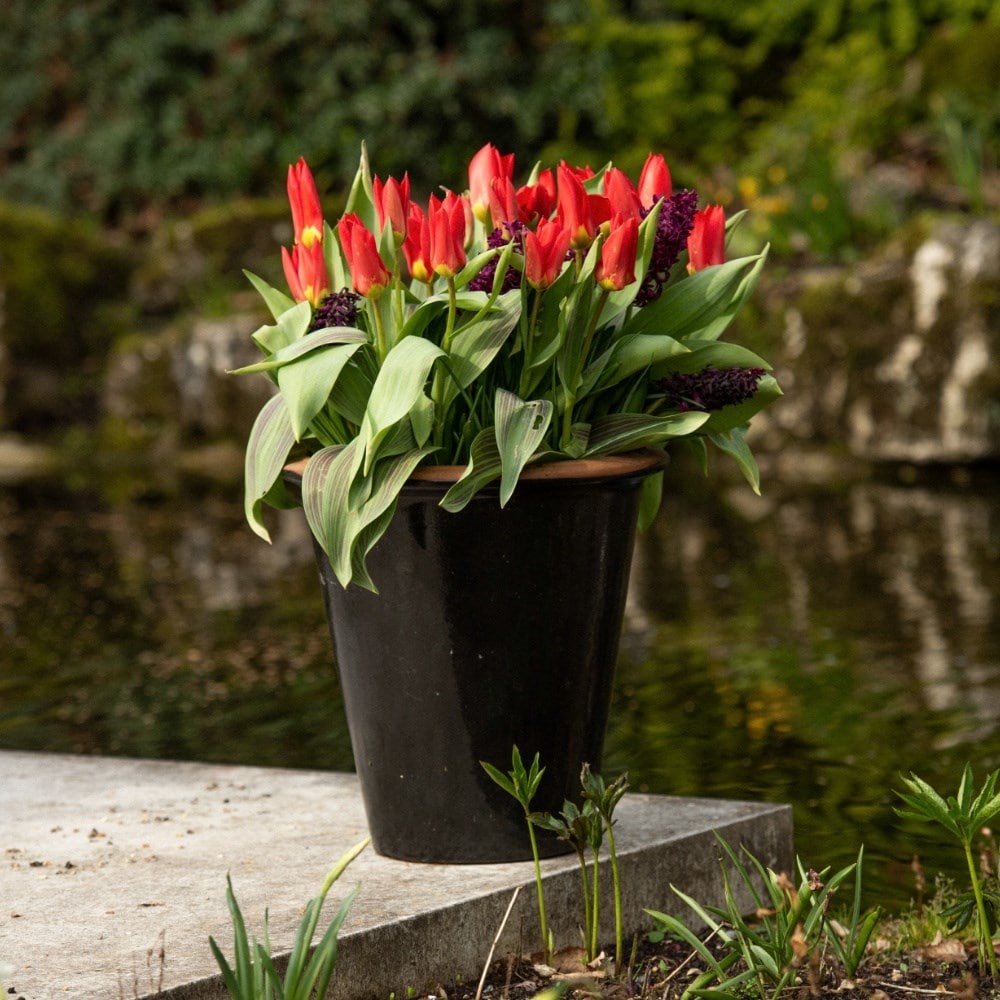
When working with bulbs in pots, the best seasonal displays are created when you plant them in layers. This then enables you to create a display that will flower over several months. This combination will provide an abundance of richly coloured flowers from February to May.
In each collection you will receive the following:
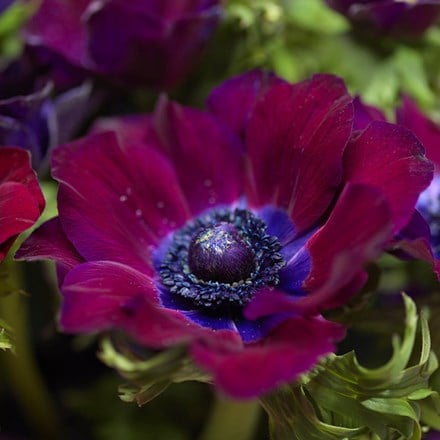
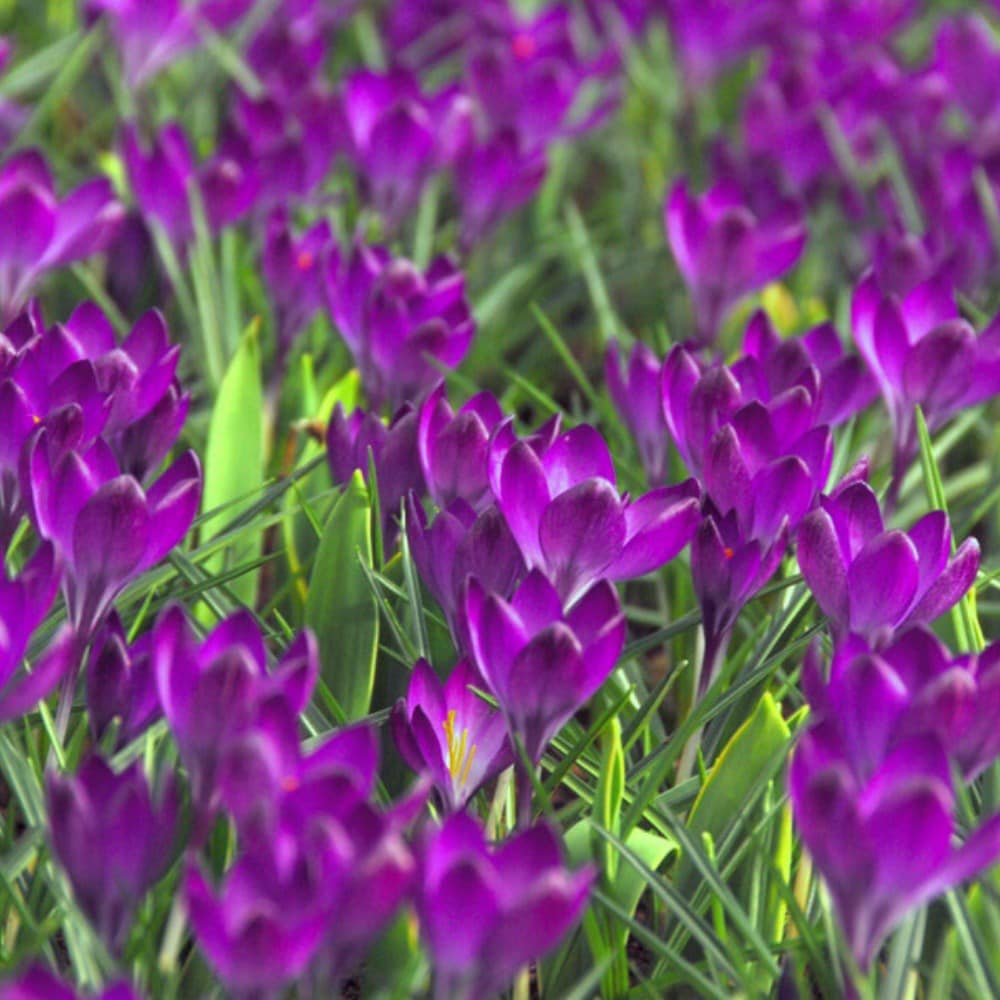
- 10 x Hyacinthus orientalis 'Woodstock': A fabulous hyacinth with deep magenta-purple blooms that are delicately scented. Plant in mixed beds in the garden or in pots on the patio so you can move them around for best effect. A great colour for mixing with deep purples or plum shades to create a 'bruised' border. Grows to 25cm.
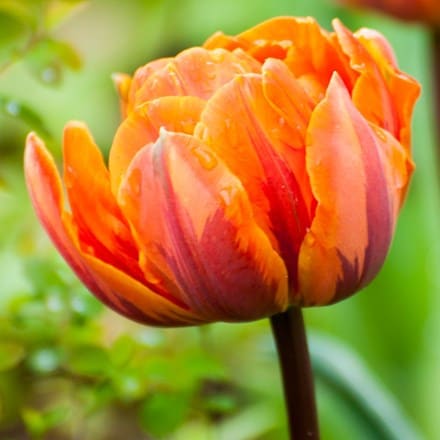
- 14 x Tulipa 'Madame Lefeber': Also known as 'Red Emperor', this is a long-standing favourite that puts on a prolonged and vibrant display. Each slender-petalled, bright red flower has a yellow-ringed dark eye, which becomes more prominent as the petals open. Grows to 30cm.
- 25 x Crocus 'Ruby Giant': Delightful, deep-purple flowers appear in February and March above narrow, mid-green leaves. This early spring-flowering crocus is larger and more robust than other 'Tommy' varieties and stands up well to winter weather, dying back gracefully after it has flowered. Grows to 7cm.
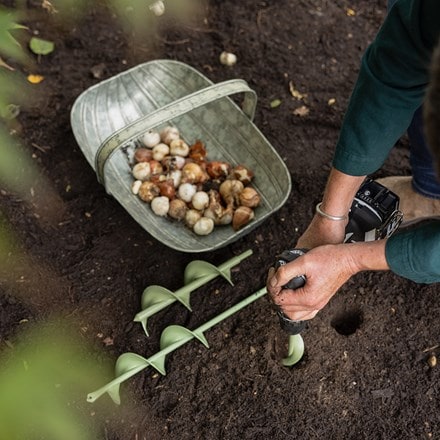
Select a pot that has adequate drainage holes and prepare your compost. Bulbs growing in containers prefer a freely draining mix, so a 3:1 blend of John Innes No2 and grit is ideal. The aim is to plant each bulb at approximately three times their own depth, allowing one bulb width between each. When ready to start planting, fill the pot with a layer of compost and starting with the largest bulbs, place them on the top of this layer with their shoot facing upwards. Infill with compost, gently firming down around the bulbs until reaching the correct level for the next set of bulbs. Continue in this fashion until all the bulbs are planted and then top up the compost to within a few centimetres of the top of the pot. Once planted, water well.
- Harmful if eaten/may cause skin allergy